Taking Better Photos Through Glass

Champagne Region
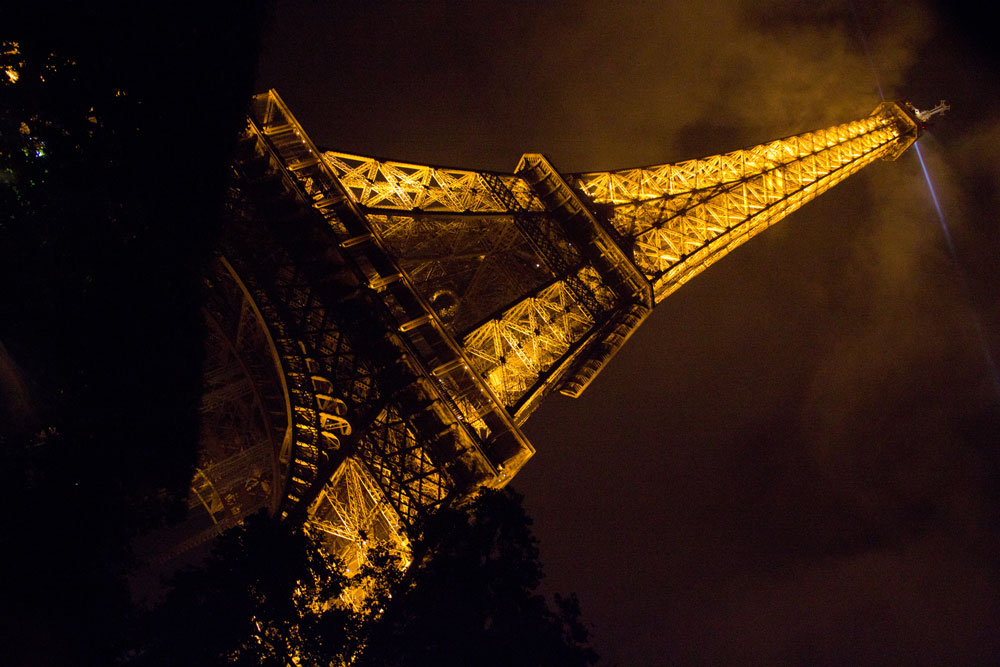
Have you ever been on a bus or train and you see the perfect view ahead of you, but when you try to take a picture, it is a disaster?  Maybe it is blurry, or that oil smudge from someone’s head is not only gross, but also now captured in your photo.  If you are on a tour and spending a portion of your time on the bus, or traveling by train, you will want to make sure you’ve got some tricks to get past the issues.

Montmartre 1Selecting a Seat

Many people fight for the first seat on a bus so they can see out of the front window.  This is nice for seeing a greater area, but not so great for taking photos.  Several obstacles can get in your way such as raindrops and bug juice.  A better option is to find a seat near an unobstructed window on the opposite side of the driver.  For example, if I was riding a bus or train in Italy, I would pick a seat on the right side so I can avoid getting all of the traffic in my pictures.  Sometimes I will ask the tour guide or bus driver which side is more scenic.  If I know the Leaning Tower of Pisa is going to be on one side, then I will make a point to sit on that side.

CowAiming Your Camera

You look out the window and see a cow that you must have a picture of.  The train is moving at 50mph and you need to think fast.  How do you catch the cow?

1-Have your camera out and ready if you think you will want to take pictures.

2-To avoid blur, place your camera at an angle.  Do not shoot the cow straight on (haha).  Doing this will result in a cow smearing across your photo.  Instead, position yourself to to create about a 45 degree angle between you and the scene.  It will also be important to have a faster shutter speed to capture less movement.

3-Place your camera as close to the window as possible.  If there is a little scratch or piece of dust, it will be easier to focus on the background rather than the imperfection if the camera is closer toLouvre 
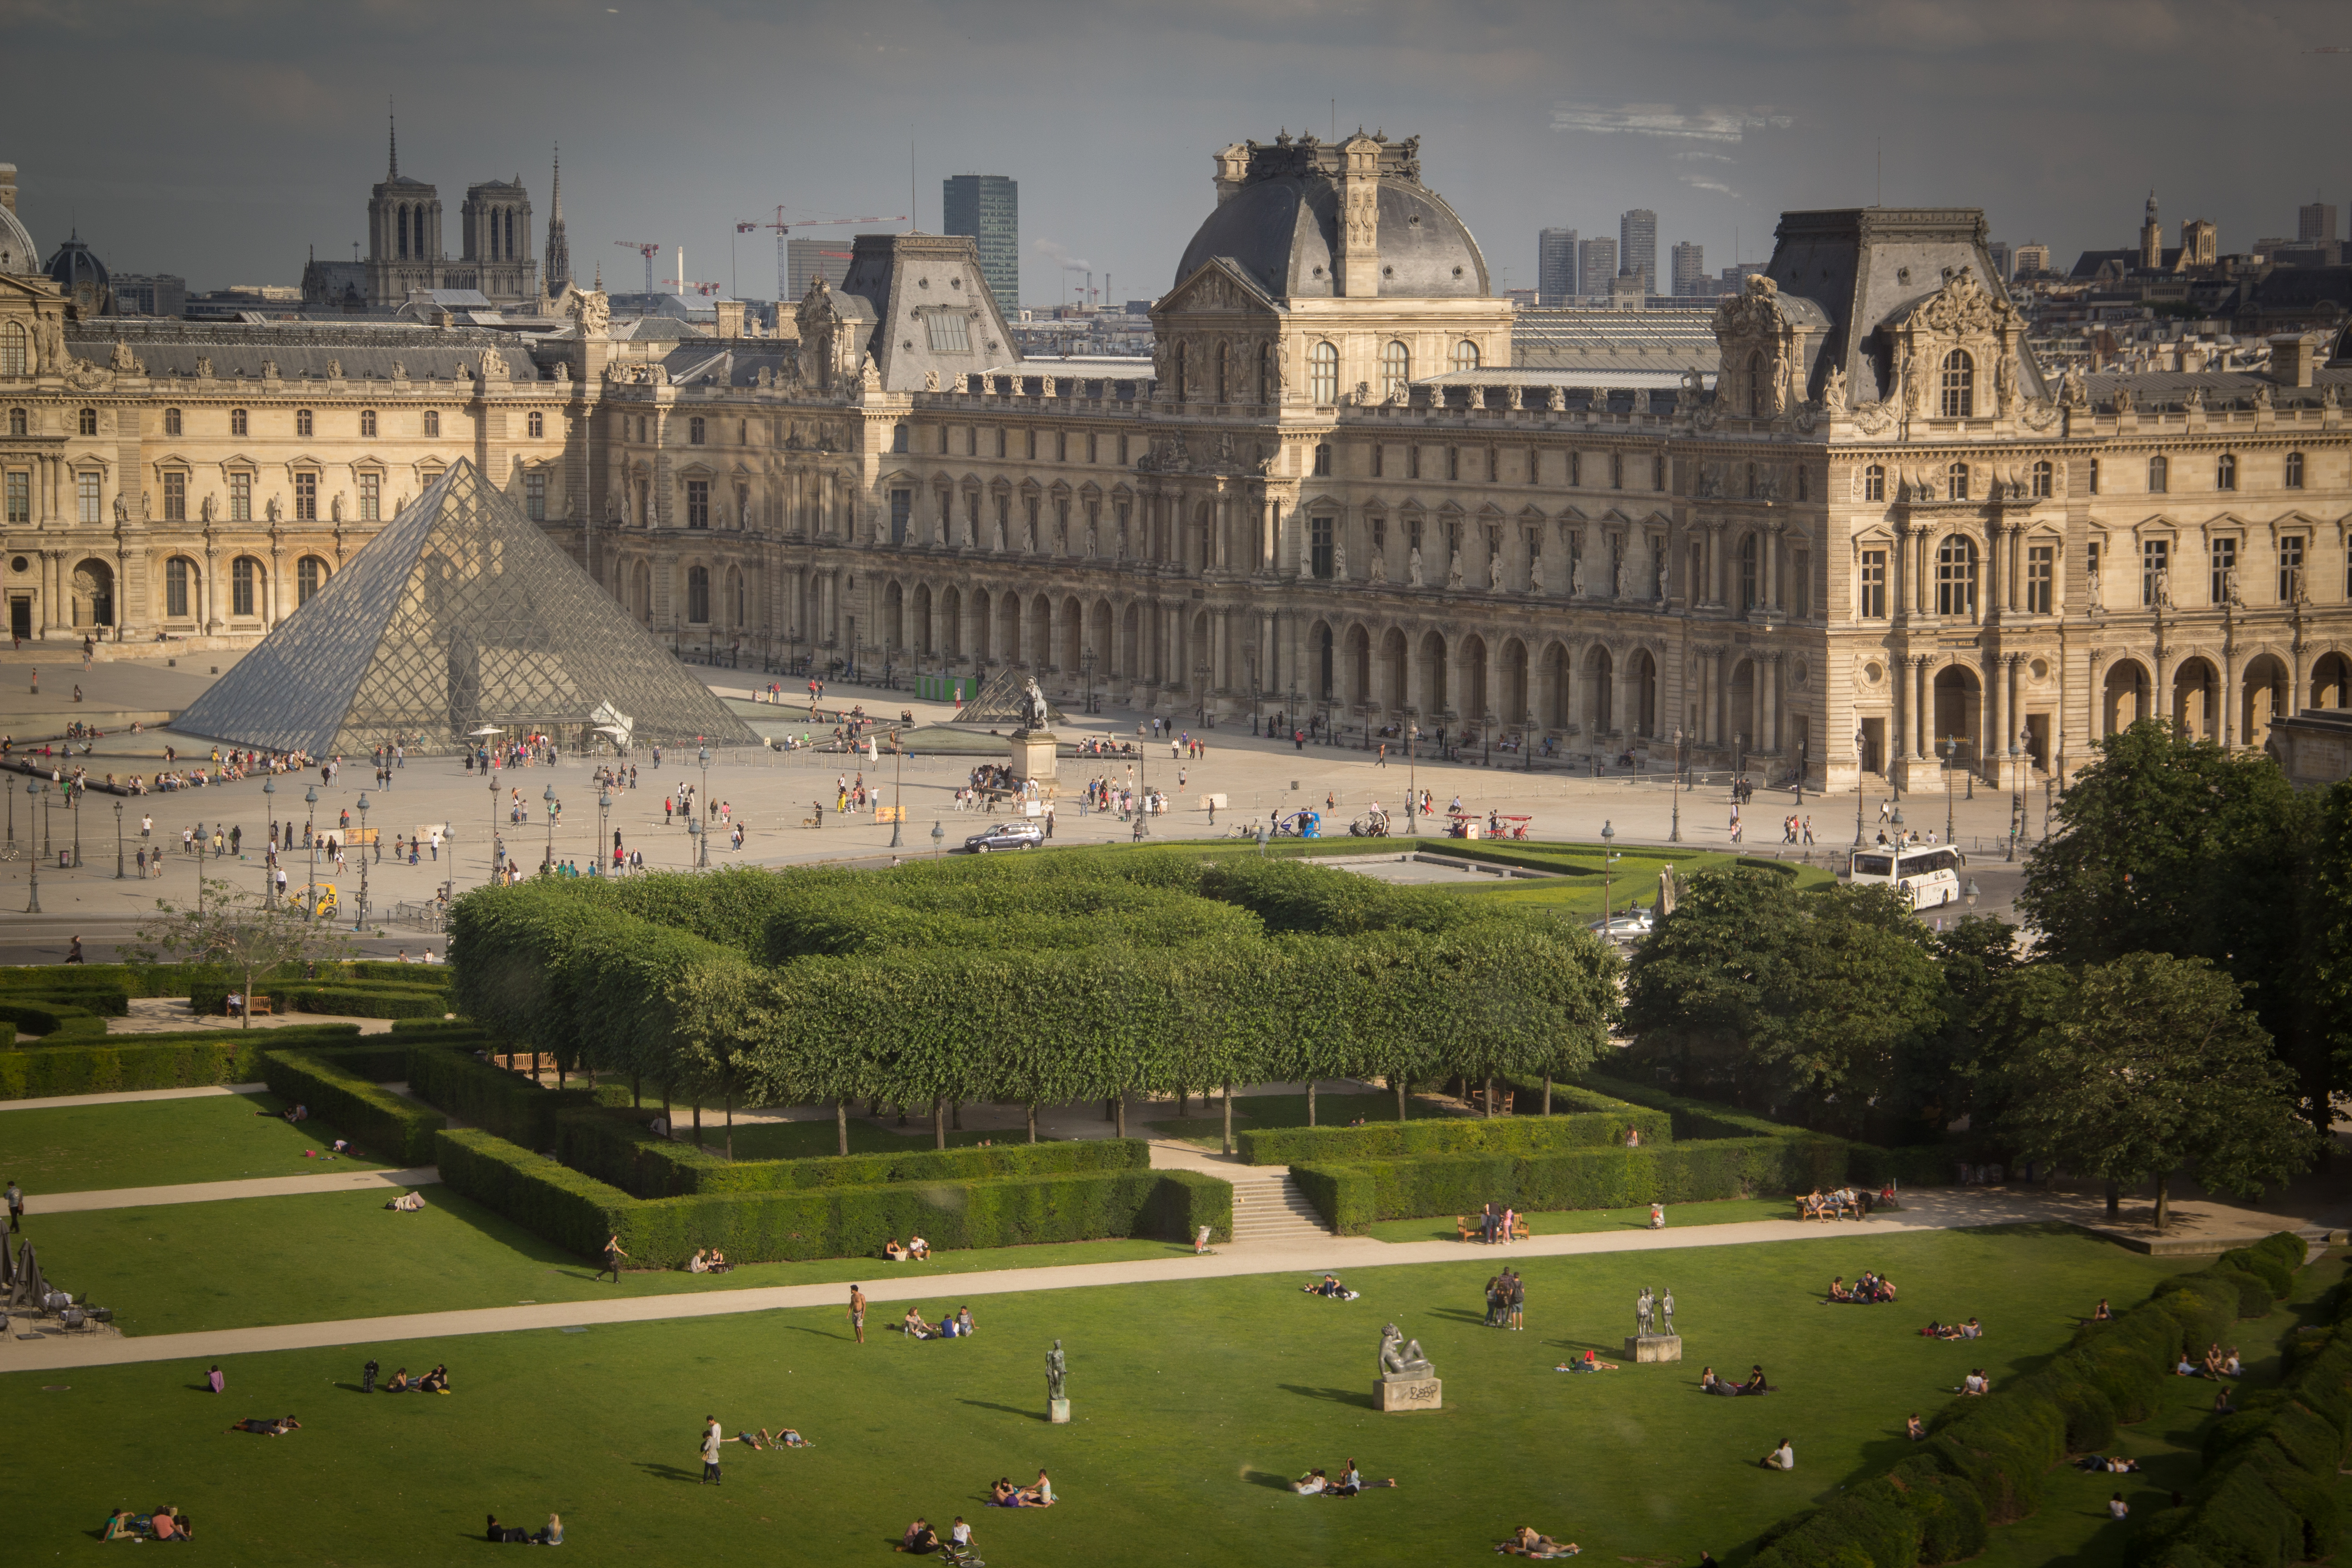
it.  Another option is to set your camera to manual so that you are in control of focusing.  Just remember, time is limited and the train will not stop for the cow, so be quick.

Secret Tips

  • Carry a cleaning wipe/towel to help get rid of smudges on the window.
  • Make sure your flash is turned off.

The Magic of Lightroom

I know I’ve been a major fan of HDR on here but I have a new favorite slipping in: Adobe Lightroom.  Although I love photography, I can be a little slow to catch onto what is the latest rage.  I plan on sharing a lot more on here about before and afters along with how-tos, but I just wanted to show what a couple minutes of work can do to a photo.  Most of the pros are using it, and I understand why now.  Have you given it a try?  They offer a free trial if you want to give it a go!  Check out what it can do.


Creating Black and White Photos with a Pop of Color

Morning BacharachCreating an image with a pop of color is actually a lot simpler than you may think.  I am using Adobe Photoshop 10, but I believe this works in versions 7 and up.  Here is how you achieve it.

1. Select a photo with color that will pop from the black and white.  Look at sample images to get an idea for what photos will work well.

2. Once you have opened the file, select the smart brush tool from the toolbar.  At the top you will see a menu where you can change the width of the brush and the desired effect.  To achieve this look, make sure select “Reverse Black-White Photo.”

screenshot3. Now, use your mouse to click and drag over the areas that you want to be black and white.  If it is doing the opposite of what you want, the “inverse” checkbox must be checked in that menu up above.  Unclick it if you want the opposite to happen.  This feature does a fairly nice job finding the lines.

4. If you notice the edges are not perfect or it dabbled into an area you want color, we can fix it.  Now we are going to use the paintbrush tool.  Once again, select the size you want.  It may be helpful to zoom in on your picture to really work on the details.

5. On the left toolbar you will see two color swatches at the bottom (one black, and one white).  If it is on black, then the color will be reapplied.  If you switch it to the white by clicking the little arrows next to it, then black and white will be applied.  Perfect your image, and tada!

Have fun and let me know if you have questions or comments!  If you’ve got any photos of your own, be sure to share the link.

Taking Photos at Night

Eiffel-TowerTaking photos at night can be a frustrating experience.  The photo is way too dark.  Now it is blurry.  I tried the flash, but that just washed everything out.  What do I do?  Here are some tips for taking better photos in the dark.

Change the ISO

Even if you have a basic point and shoot, you should be able to change the ISO.  ISO is one of the most effective ways I have found to adjust the exposure for dark settings.  The higher the number, the more light that is let in.  Make sure you test changing your ISO before a trip.  Different cameras allow for different quality.  Ideally, the best quality can be found with 100 ISO, but sometimes the lighting calls for 1600.  Typically, the higher you go, the grainier the picture, but practice with your camera to see what happens.

Change the Aperture

Changing the aperture is another way to adjust the exposure.  If you are working with a point and shoot, you may not be able to do anything about this.  Aperture is measured in f-stops.  The lower f-stop (i.e. f 2.8) lets in more light.  Use a lower f-stop at night or in a darker scene.

Change the Shutter Speed

The final way to change the exposure is by changing the shutter speed.  The longer the shutter is open, the more light that can enter.  If you have ever seen images with bright stars moving, they get this effect by leaving the shutter open for a long time to capture the movement of the stars.  The issue with changing this feature is you need to be deadly still.  That is where the next tip comes in.

Use a Tripod

Tripods can help a lot with letting in more light and reducing blur to improve night photos.  Although this may not be the most convenient option, it definitely makes a difference.  Don’t think you need to bring a honking tripod.  Simple table-top tripods can be very useful and easy to stow away.

Another tool that can help you keep the camera still on the tripod is a remote.  The remote can be wired or wireless, but it prevents the movement that takes place when you press down the shutter.

Change Your Angle

Sometimes we just need to move around a bit to be able to capture more light.  If you are standing under a tree that is shaded from all light, move out from under the tree so that your camera can use what is available.

**If you see something you’d like to try, but need help figuring out how to do it, please feel free to ask.  Remember, I am a teacher, and I get pleasure out of showing someone how to do something for the first time.  Taking better photos in the dark takes practice.  Here is my homework assignment for you: go for a stroll some night to practice your new skills.

Have your own tips?  What do you do to improve your photos taken at night?